A 5-man Strike Squad with Psycannon ... to be mounted in a Razorback.
Step 1: Boltgun Metal

I toyed with the idea of using Mithril instead, but for one, I'd be left with nothing to highlight, and for another it's just not grim-dark enough.
Step 2: Badab Black

Ok, maybe a little too grim-dark. With the depth added, I'm going to highlight in silver. I usually highlight before a wash, but in this case, the silver actually gets lost in the wash, so it will come afterwards.
Step 3: Mithril Silver
Note that I did not do my usual line-edge highlighting. This was more of a drybrush effect, and I tried to highlight only areas that stood out and from the top down, to emulate a kind of subtle source lighting.
Step 4: Asurmen Blue
For creases and low areas, to add further depth and break up the monotony of an all grey model.
Step 5: Shining Gold
These models have so much detail it's insane.
Step 6: Mithril Silver
Very lightly drybrushed over the golden parts. This would be followed up by a Devlan Mud wash, but we're going to set up a few other colors that will also use the same wash first.
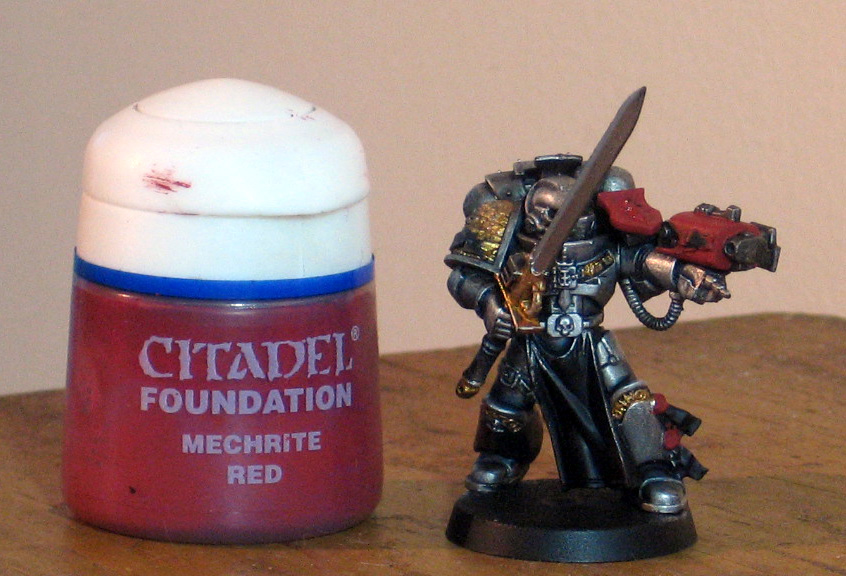
Step 7: Mechrite Red
GW's team paints the bolter casing black, but I think that's boring, there's not enough red.
Step 8: Blood Red
Covering anything in Mechrite.
Step 9: Macharius Solar Orange
I used to highlight reds with Fiery Orange, but that's been discontinued. I tried Blazing, but it was too dark, so this foundation paint has taken up the role. The reds are now ready for Devlan Mud.
Step 10: Dheneb Stone
Purity Seals, Cloth, Scrolls, Skulls.
Step 11: Vermin Brown
Sword handle (and if he had any belt pouches)
Step 12: Devlan Mud
Used on all the gold, reds, creams and the sword handle.
Step 13: Bleached Bone
Moving on with the skulls, scrolls, cloths and purity seals, we're bringing back the color a bit.
Step 14: Skull White
A few things happening here... The skulls, scrolls, cloth and purity seals are lightly drybrushed along edges and raised areas, the eye-lenses are picked out, and there are now bolts of lightning painted onto the blade.
Step 15: Gryphonne Sepia
To finish off the skulls, scrolls, cloth and purity seals, this was added to the recessed areas.
Step 16: Asurmen Blue
In the eye-lenses and on the blade.
Step 17: Skull White
I've dotted the eye again to make it look like it's glowing, and partially re-traced the bolts along the sword. You want some of those bolts to remain covered by the wash.
Step 18: Chaos Black
This is for scribbles on scrolls and barrel-holes in guns.
Step 19: Calthan Brown
We're almost to the end, just doing the base now.
Step 20: Basing sand
Step 21: Devlan Mud
To finish off the sand.
Well, there we are. The method is actually quicker than with some other armies, probably because I don't have to line edge the armour. Awesome, that means more time to spend painting more models (I'm such a glutton for punishment).
Bonus Draigo!
With one exception, Draigo was painted using the exact same method...
...that exception being the little bit of Thraka Green at the end of his blade to make it interesting/unique.