On the bench today is the Heavy Assault miniature for the CCC Yellowjackets. For full disclosure, there's really not a lot that I'm doing to deviate from the MERCS concept art for this team. I actually really like how the Yellowjackets are portrayed. Other teams may get different treatment, though.
Enough of my prattle, though. On with it!
Starting off with a simple black primer.
Step 1: Eshin Grey
The Yellowjackets appear to be wearing a kind of body-glove top + baggy pants in a dark grey underneath the bulky yellow armor bits. Eshin is more or less my basecoat for a black/dark-grey.
Step 2: Dawnstone
I slightly watered down the Dawnstone so that it would go on a little smoother, and not as opaquely. Leave crevices and recesses for the Eshin to show through.
Step 3: Administratum Grey
Also watered down, this was only applied on raised areas meant to be highlighted. Don't let that leg in the foreground fool you, only about 25% of the area that was originally covered in Eshin got the Administratum.
Step 4: Leadbelcher
For all of the bits to be metal. Lay it on thick, it's a basecoat after all.
Step 5: Nuln Oil
Apply this liberally to both the grey and metal areas. Move it around while still wet with the brush in order to keep it from pooling where you don't want it. This was the final step for the grey areas.
Step 6: Runefang Steel
This is the final step for the metal areas. Be light and selective with where you apply this. Drybrush it, if you can. I applied it to the tops of the knee-pads, select areas on the gun to give it a sense of variety, and the metals on shoulder and helmet.
Step 7: Mournfang Brown
Now we begin work on the leathers. This is the basecoat.
Step 8: Skrag Brown
This is the intermediate color on the leathers. Leave Mournfang showing in the cracks/crevices.
Step 9: Kislev Flesh
This was watered down a little, and applied to most of the leather areas. Leave some Skrag and Mournfang showing through.
Step 10: Agrax Earthshade
Applied heavily to the leather areas to bring that Kislev down a bit.
Step 11: Averland Sunset
And so we begin on the yellows. Averland is your basecoat, as it's nice and thick.
Step 12: Yriel Yellow
This was applied rather heavily on top of the Averland.
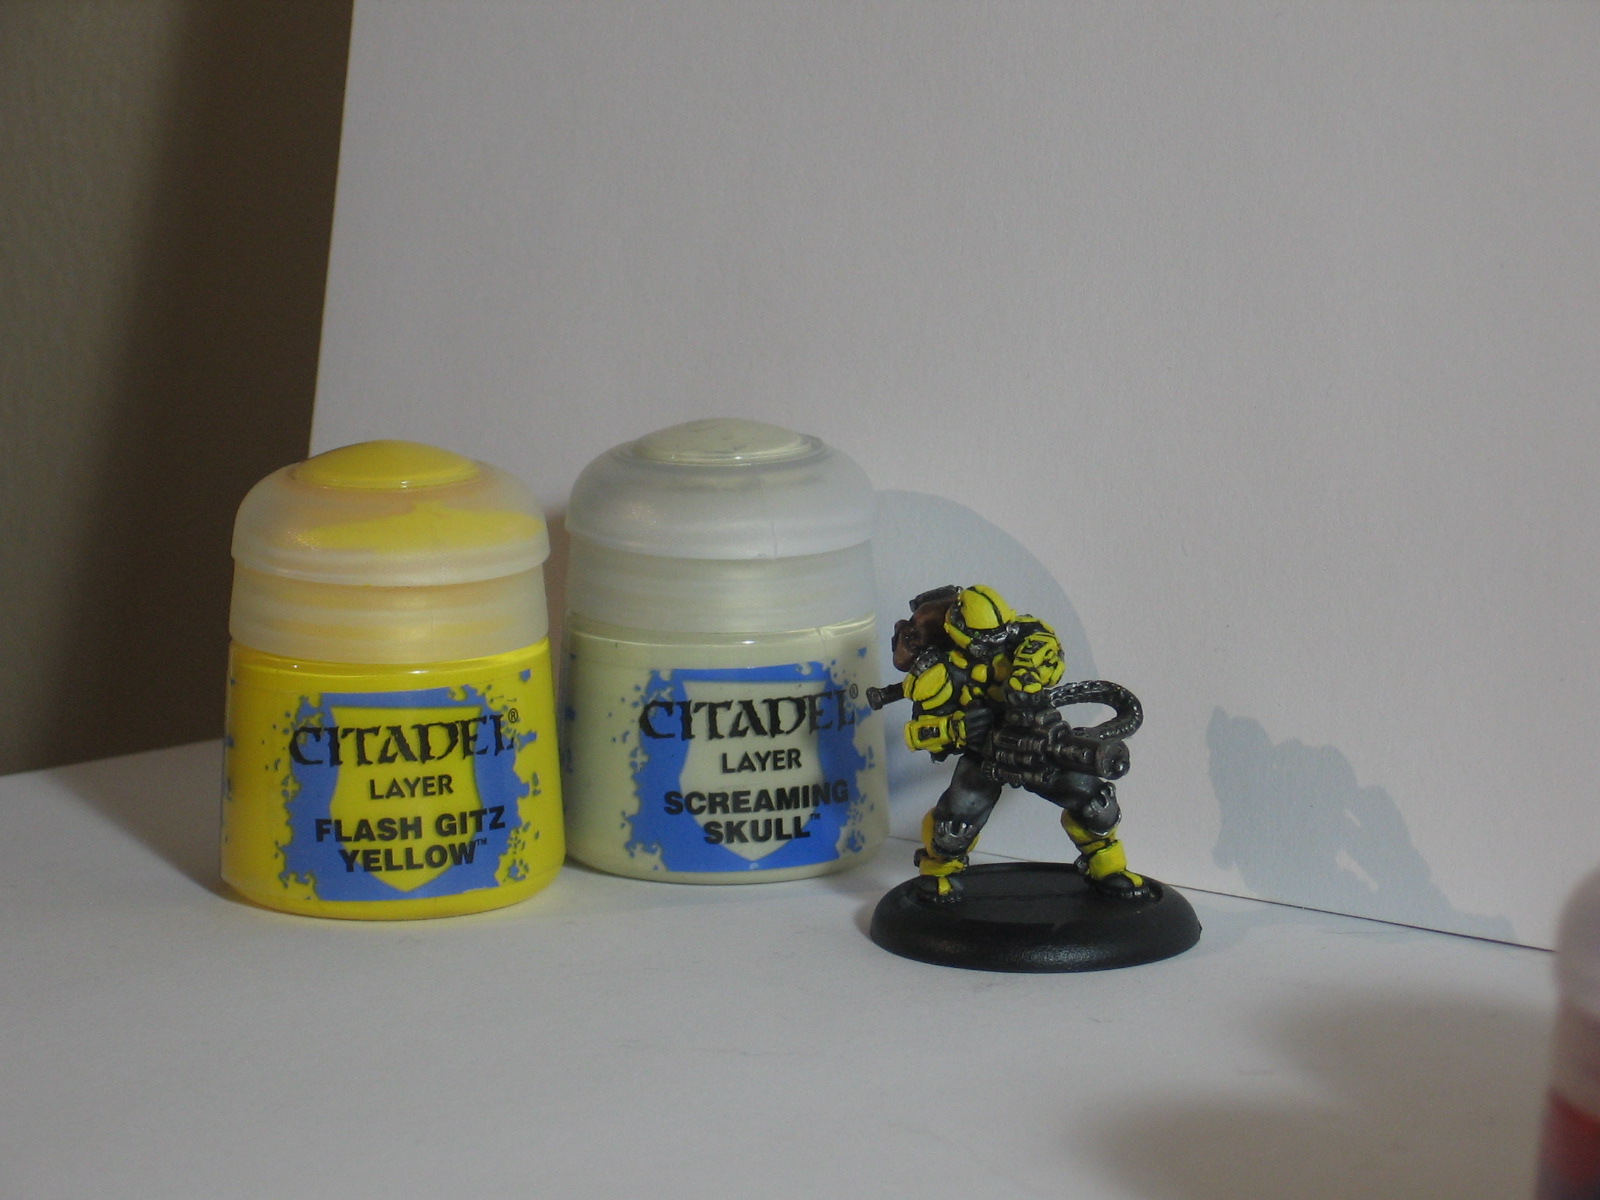
Step 13: Flash Gitz Yellow
Slightly watered down and added to about 90% of the areas covered by Yriel.
Step 14: 50/50 Flash Gitz Yellow / Screaming Skull
Also watered down, this mix was applied to raised areas, favoring those on top of the model.
Step 15: Lamenters Yellow Glaze
Applied to all areas yellow. This ties your various layers together more and gives an almost candy finish.
Step 16: Screaming Skull
This was watered down and applied to very exposed areas/edges. Now with the yellows done, there are just a few details left to get. We're in the home stretch.
Step 17: Fenrisian Grey
For the visor.
Step 18: Guilliman Blue
Also for the visor.
Step 19: Fenrisian Grey
Applied very lightly to the middle of the visor, just to pick out the original color again.
Step 20: White Scar
I only used the white to put a kind of stylized skull emblem on his kneepad. The concept art showed it on that ankle-guard, but I felt it would stand out better here.
Step 21: Khorne Red
The only real red details on him were on his hand-plates, though in the center of the metallic rings. I actually liked them dark, though... so I put the red in a ring on the surrounding yellow plates.
And there we have a finished CCC Yellowjackets Heavy Assault all ready to shred into his enemy. 2 down, 5 more to go to finish out the team.